

I hope you are in the mood for a mammoth DIY post today! If not, feel free to just scroll through the pictures instead, it should have the same effect. :)
Ever since Kyle posted a photo of our newly refinished breakfast room table on Facebook, we received several questions about how we did it. So today I am spilling all the beans on how we gave our breakfast room table a new look, though I may have been slacking a little in the documentation department. This may not be a perfect step-by-step tutorial, but it comes pretty close. If you are planning a similar project, no matter what color paint or stain you want to use, hopefully this post will be helpful for you!
First, how our table looked before:

We received this table as a gift from Kyle's parents when we got married. It had been used for several years before we got it, but our poor newlywed selves really didn't care. We just needed something to eat on. And I have to say that I wasn't totally against the look of the table in the first place. It had that cottage charm that I really love, and just a few touch ups from the previous wear and tear would have been improvement enough for me. But like most men, Kyle wanted to do something radical, and since we won't have the table forever, I figured there would be no harm in going for it.
So with this as our inspiration, we set out for Lowe's to get our supplies:

And we got to work on a beautiful Sunday afternoon in October. Yes, that's how long ago we started. And yes, that is how October looks in Georgia. Like summer. And by we got to work, I mean Kyle did all the work and I took the pictures. Win-win. :)

First, Kyle applied the stripper to the finished surface of the table (he used this brand from Lowe's). After waiting about 10 minutes to let the stripper set in, he then scraped it off with a metal scraper and wiped the table down with mineral spirits.


Next came the sanding. He sanded the large surface area of the table with an electric sander using 5 different grits of sandpaper (80, 100, 120, 150, and 220), and sanded the edges by hand.

When sanding, make sure you have the appropriate protective gear on, like eyewear and a mask. Or in our redneck case, aviators and a bandana. :)

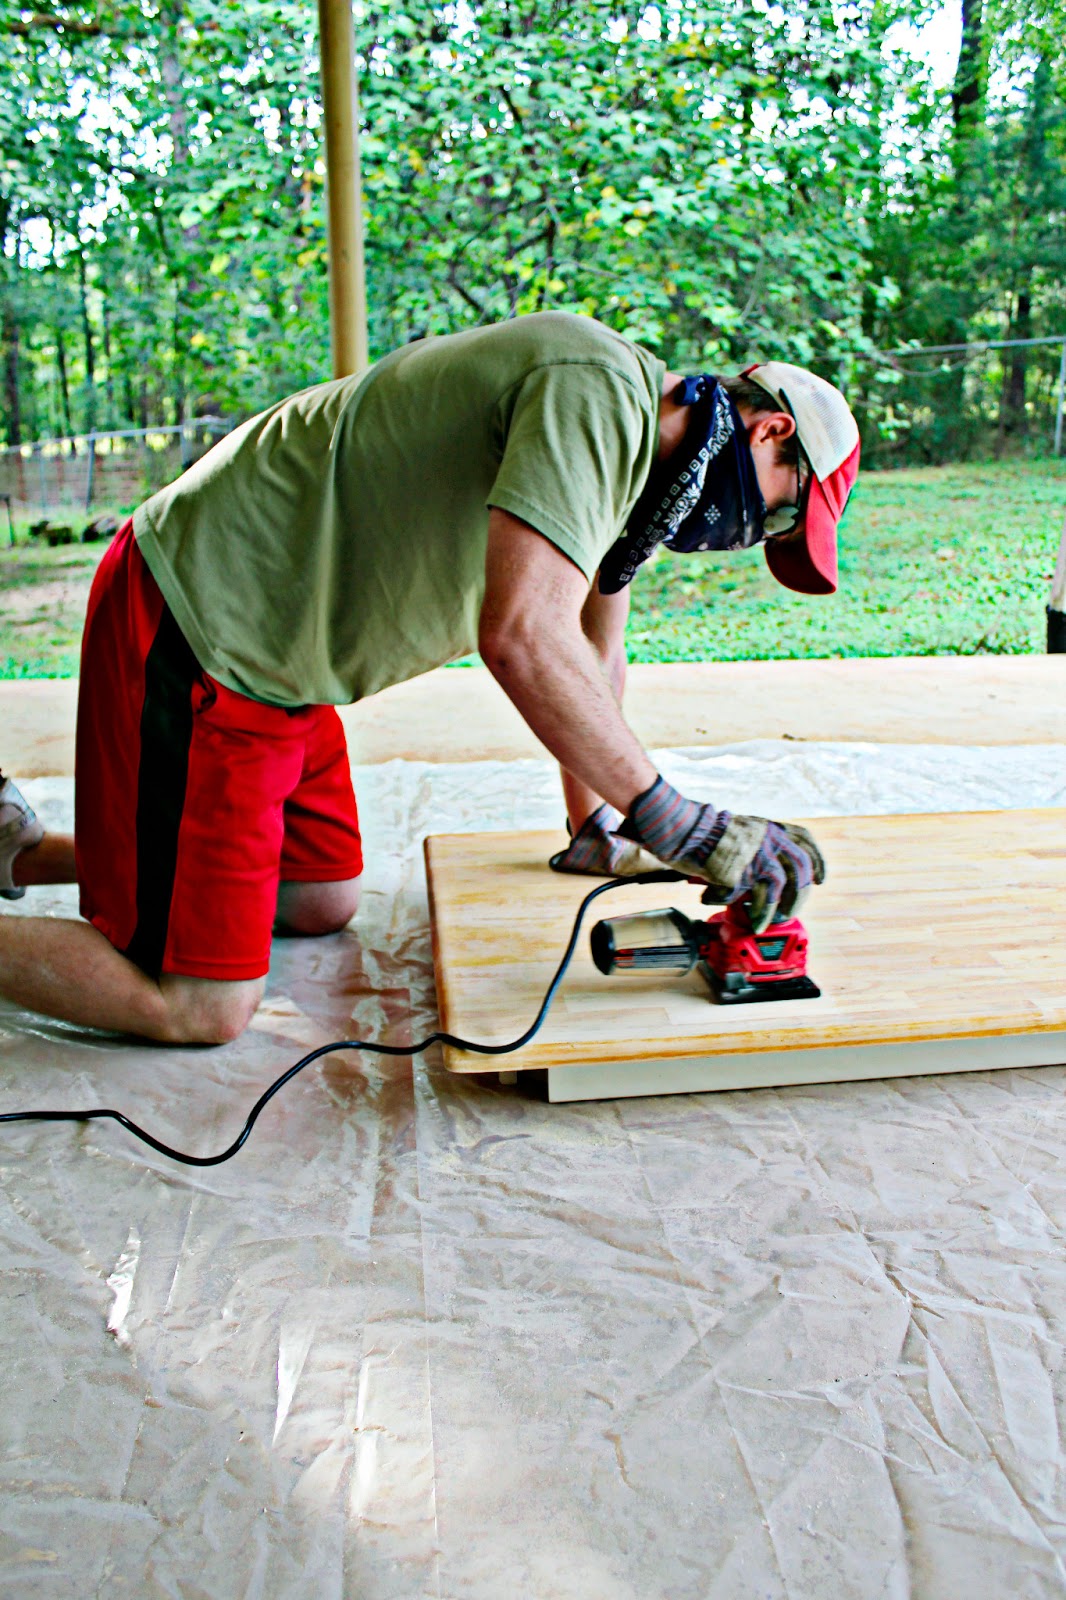

Kyle continued to sand the surface of the table with the power sander until everything was nice and unfinished again.

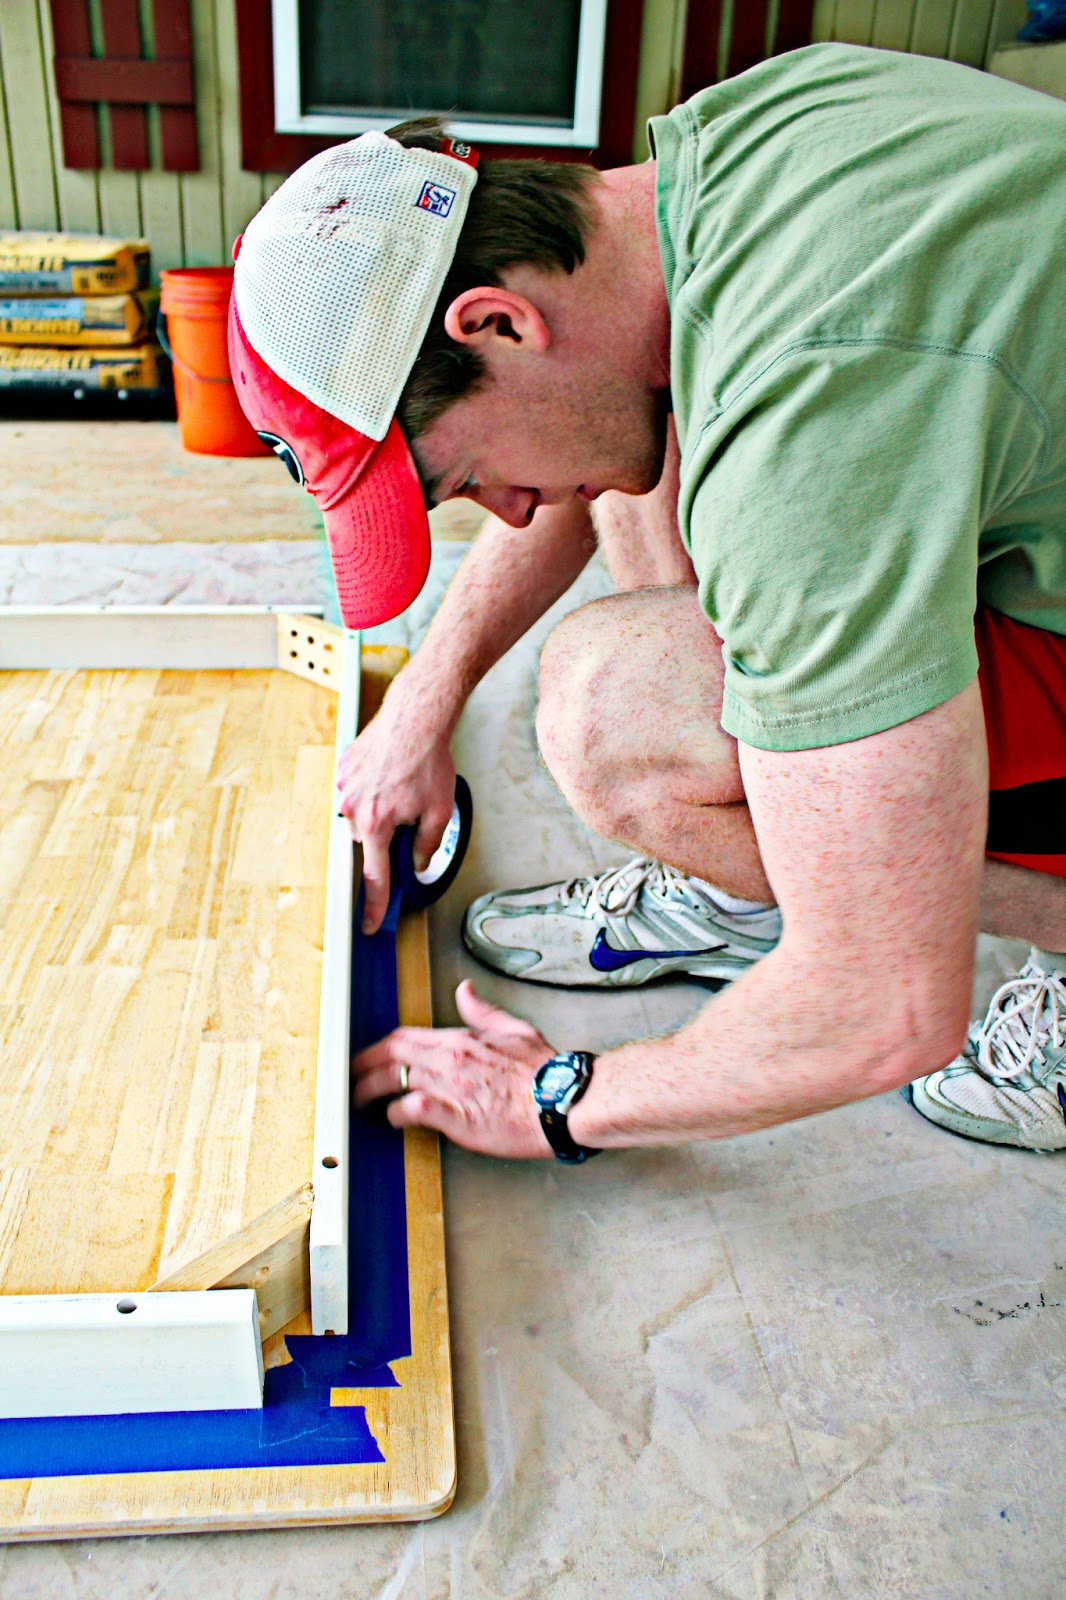
Then it was time to paint! To prep for paint, Kyle sanded down the table legs and the slats under the table with some 220 grit sandpaper. We painted the slats under the table first and sealed off the edges of the table with a little bit of painter's tape. We used blue tape for this part of the project, but by the end of everything we were definite Frog Tape converts. Frog Tape works SO much better, y'all! But that's another post for another day.
It only took two coats of paint for the table legs to start looking fabulous again! #howyoudoin


If you have a young and curious puppy like we do, be sure to let them supervise from the safety of a window inside the house. Doc was insistent on "helping" Kyle the entire time. ;)

After giving the paint a few hours to dry, Kyle flipped the table back over to start staining the top. We used Minwax Wood Finish in Gunstock for our stain. To apply the stain, Kyle smoothed it on with a paintbrush and then wiped it down with a cloth. You can repeat as many times as necessary to get your desired look, but since we didn't want it too dark, Kyle only did two coats of stain.


While we were letting the stain set in, we took a break for the night and drove to Hampton, where Kyle and I worked together as summer camp counselors, to attend a send-off party for our former boss (I wanted to include this bit since I didn't blog about it before and I want to remember it). Paul and his wife, Robin, were about to move to New Zealand and wanted to say goodbye to everyone. It was so much fun going back and catching up with those crazy people! When you spend an entire summer 24/7 together, you definitely start to feel like family. Below I think Robin was telling us how they were going to get their Blue Weimaraner, Kora, over to New Zealand via plane. Poor thing was going to be stuck in quarantine for a few days once she got to NZ (hence my wide eyes and open mouth)! I can't imagine Doc having to do that.


Here we are with Paul and Robin, our former bosses and great friends. They have been living it up in New Zealand for a few months now and we sure are missing them!
Ok so after this day, I kind of fell off the picture-taking bandwagon for the project. Blogger fail. But thankfully, the process for refinishing the chairs was pretty much the same as the process for the table. Just the taping off for painting part took much longer to get around all of those chair backs (that's when we started using Frog Tape). As for sealing everything, Kyle used Rustoleum satin spray-on poly to get a nice even, protective coat on the wood surfaces.
So to make up for the lack of picture-taking during the process, here a few more pictures of the entire finished product:


Overall we are really pleased with the way it looks, though we are having some trouble with the paint chipping on the chairs and table legs. We probably need to seal them with something as well. Other than that, we think she's a beauty! Now to plan curtains, accessories, and a better rug to make the room come together. Any ideas are welcome!
Kyle, the table-refinisher extraordinaire! It looks awesome!
ReplyDelete